
Installation and Aftercare
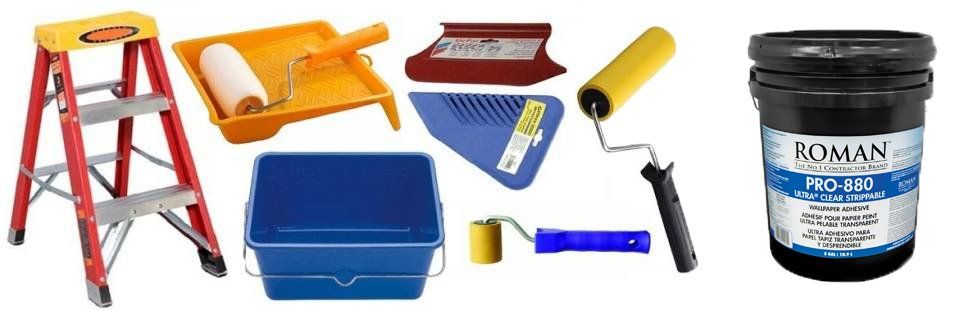
Tools
- Straight edge
- Sharp knife (Stanley/craft) or scissors
- 'Paste the wall' adhesive
- Bucket
- Pasting brush or roller
- Clean, damp microfibre cloth
- Plumb line or spirit level
- Plastic wallpaper smoother tool (with felt edge)
Want to install it yourself? Follow our guide below!
How to install/to glue wallpaper
Ensuring the wall is smooth, clean and completely dry is key for a successful installation. The surface should be free from old backing paper and contaminants such as dirt, dust, grease, mildew, ink stains; any of these can prevent adhesion taking place.
1. Remove nails / screws and fill in any cracks.
2. Switch off the electricity mains and remove any socket / switch covers.
3. Sand down any rough areas until smooth.
4. Use a sponge to clean the walls with warm water and mild soap, allow the walls to dry for a minimum of 24 hours.
5. Paint the wall a light uniform colour if it differs significantly from your wallpaper as dark patterns / colours may show through.
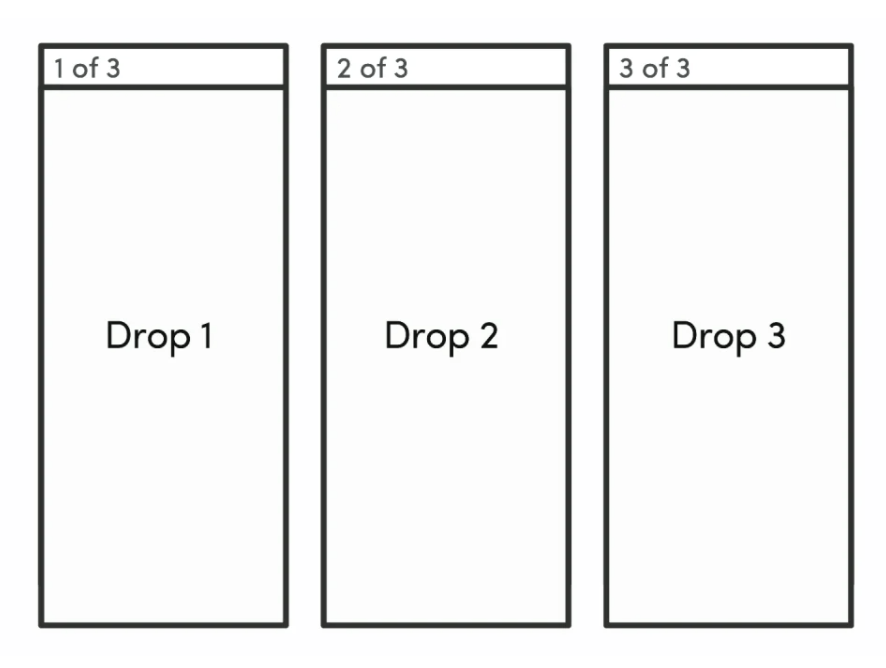
Lay out your wallpaper
1. Unroll the wallpaper and separate the drops (panels) by cutting between the dotted lines, notice every other drop on the roll will be upside down. Identify each panel and arrange them in hanging order on the floor starting with drop 1. Ensure the whole mural is the correct orientation by aligning the panel numbers to the top left corner of each drop. Each drop is numbered in hanging order from left to right.
Please note: If you have ordered multiple murals they may be rolled together.
2. Lay out panels to check image match before installation. If you notice any inconsistencies within the print, please do not install. Our customer service team can assist you with any problems. Under no circumstance can we compensate installation fees from third parties.
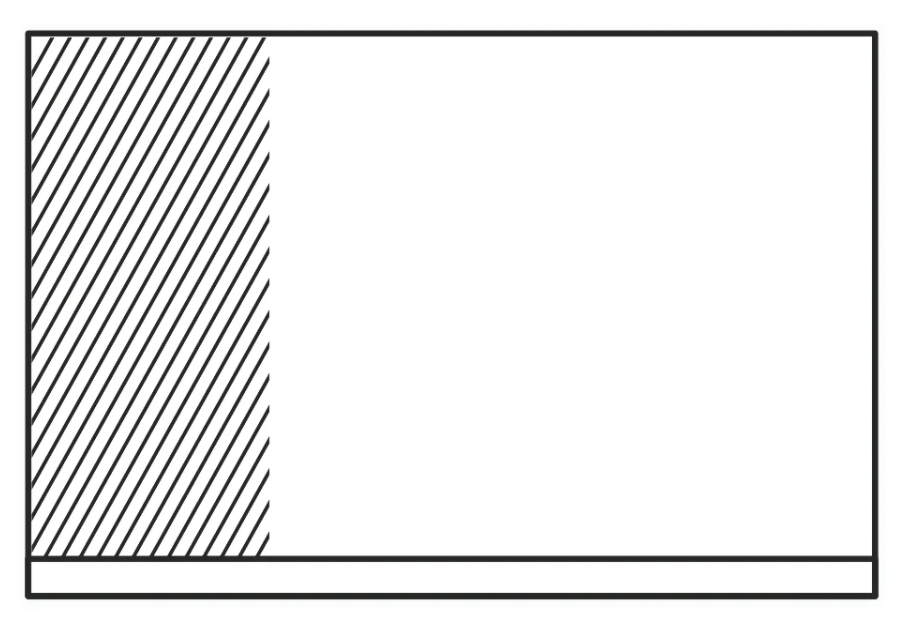
Paste the wall
3. Ensuring that the first panel is hung straight is vital for successful installation of your mural. Mark a panel’s width on the wall with a pencil then hold a plumb line or spirit level on the mark to draw a vertical line down. This will give you a guide when hanging the first panel to ensure it’s hung straight.
4. Using a brush or roller, evenly apply wallpaper paste directly to the wall surface, covering a few inches past the first marked section. A smooth, even coat is essential for reducing the possibility of bubbling.
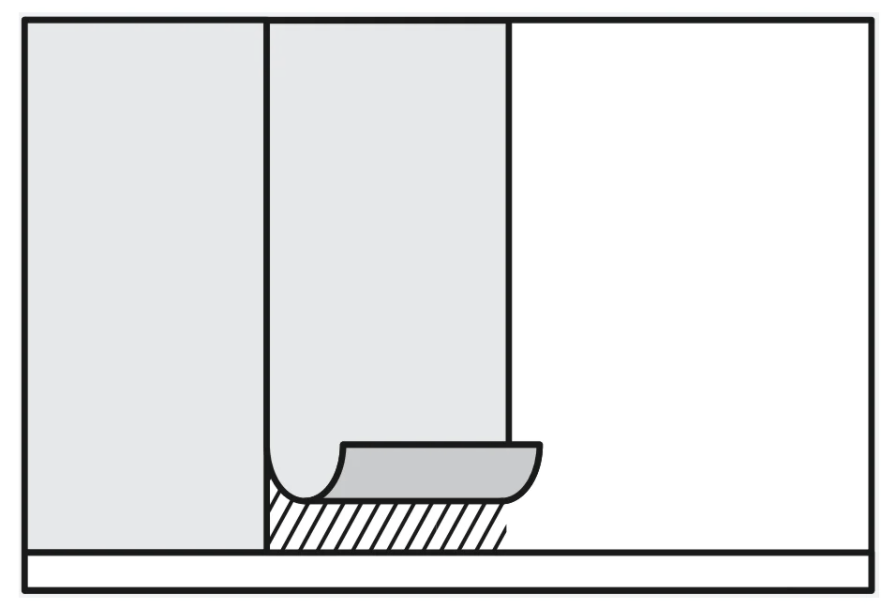
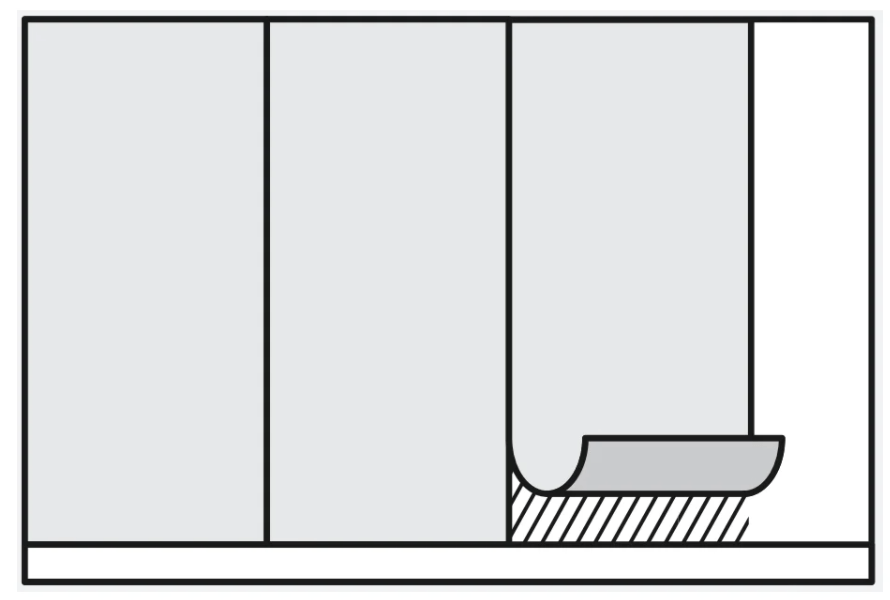
Hang the first panel
5. Line up your first drop with the penciled guideline and start to hang from the top and work downwards. Carefully smooth away any bubbles or ripples using the plastic smoother tool or a soft cloth.
IMPORTANT: Do not pull or stretch the material during installation. Work from the top and allow the wallpaper to fall naturally, taking particular care to avoid scuffing or scratching the printed surface

Line up the panels
6. When hanging multiple drops: hang the panels edge to edge as there is no overlap in a butt join.Visually match the design on the wall then firmly press the panels together so that the seams are not visible. Again, smooth out any bubbles with the wallpaper tool or a soft cloth.
7. Try to avoid getting paste on the surface of the mural. Any excess paste that does get on the print, gently wipe away with a clean damp cloth as soon as possible.
Repeat until finished
8. Continue the previous stages for each drop until all panels are installed. Continue to smooth and wipe away excess as you go.
9. Trim away any excess paper at the top and bottom of each drop using a sharp knife. Dull blades can cause the paper to tear.
Allow for drying at room temperature, ensuring there is lots of ventilation. If there is a heat source such as a radiator on the same wall as the mural, turn it down or off for the first 24 hours of drying, this will reduce the possibility of shrinkage.
Sit back and enjoy your handiwork!
We recommend hiring a professional installer to install your wallpaper. We don't take responsibility for any damages done.
Our wallpapers are washable as follows
- Using a vacuum cleaner (without a mechanical impact brush) collect dust on the coating
- Add a few drops of “dishwashing detergent or detergent” to the water;
- Wipe the cloths with a soft sponge dipped in soapy water so that there are no drips;
- Use a dry cloth to remove moisture.
416.454.8844
*Shipping, installation, and applicable taxes may be extra.